VB.NET, C#, PowerShellを使用しているエンジニアのためのサイト。
基本的な使用方法から開発で役立つTipsまで幅広く取り扱っています。
10.コマンドインターフェースを使用してButtonをタップするには?
Update 2018/12/24
< Prev Tips
コードビハインドで buttonタップ時の処理をする場合は clicked イベントを使用しますが、ここではコマンドインターフェースを使用してタップ処理をする方法を説明します。
ここでは、以下について説明します。
INotyfyPropertyChangedを継承したクラスを作成するには?
clickedイベントを使用せずにButtonのタップ処理を行うには、MVVMデザインパターンを使用して実装します。
ここではMVVMについては説明をしませんので、あらかじめご了承ください。
はじめに、PCLライブラリのフォルダに新規でクラスを作成します。
ファイル名は CommandSampleViewModel.cs とします。
CommandSampleViewModelクラスは、INotyfyPropertyChanged を継承して作成します。
INotyfyPropertyChanged はプロパティ値が変化したことをバインド先に通知するという機能を持ちます。
以下にクラスの作成例を示します。
  using System.ComponentModel;
  using System.Windows.Input;
  using Xamarin.Forms;

  namespace buttonSample10
  {
      public class CommandSampleViewModel : INotifyPropertyChanged
      {
          string _message = null;

          public event PropertyChangedEventHandler PropertyChanged;

          public CommandSampleViewModel ()
          {
              JpCommand = new Command(() => Message = "こんにちは");
              EngCommand = new Command(() => Message = "Hello");
          }

          public string Message
          {
              set
              {
                  if (_message != value)
                  {
                      _message = value;
                      PropertyChanged?.Invoke(this, new PropertyChangedEventArgs("Message"));
                  }
              }
              get
              {
                  return _message;
              }
          }

          public ICommand JpCommand { private set; get; }

          public ICommand EngCommand { private set; get; }

      }
  }
35行目と37行目に ICommand型のJpCommadとEngCommandというプロパティを定義しています。
これらのプロパティには、13〜17行目のコンストラクタで、値をセットしています。
(JpCommandには「こんにちは」を、EngCommandには「Hello」を渡しています。)
19〜33行目がMessageプロパティの定義です。
setの方を見ると、受け取った値がnullではない場合に _message に値を代入し、PropertyChanged?.Invokeメソッドで、値が変更されたことをバインド先に通知するようにしています。
作成したコマンドをButtonにバインドするには?
次に作成したコマンドをButtonにバインドする例を示します。
  <?xml version="1.0" encoding="utf-8"?>
<ContentPage xmlns="http://xamarin.com/schemas/2014/forms"
              xmlns:x="http://schemas.microsoft.com/winfx/2009/xaml"
              xmlns:local="clr-namespace:buttonSample10"
              x:Class="buttonSample10.MainPage">

    <ContentPage.BindingContext>
        <local:CommandSampleViewModel />
    </ContentPage.BindingContext>

    <StackLayout HorizontalOptions="CenterAndExpand" VerticalOptions="CenterAndExpand">
        <Label Text="{Binding Message, StringFormat='{0}'}"
                FontSize="Large"
                VerticalOptions="CenterAndExpand"
                HorizontalOptions="Center" />

        <Button Text="Japanese"
                VerticalOptions="CenterAndExpand"
                HorizontalOptions="Center"
                Command="{Binding JpCommand}" />

        <Button Text="English"
                VerticalOptions="CenterAndExpand"
                HorizontalOptions="Center"
                Command="{Binding EngCommand}" />
    </StackLayout>
</ContentPage>
7〜9行目は、作成したCommandSampleViewModelをこのXamlファイルで使用できるようにしています。
12〜15行目は、Buttonがタップされた時に受け取ったメッセージを表示するためのラベルです。
「Binding Message」としていることからもわかる通り、Meesageプロパティをバインディングしています。
17〜20行めは、ButtonにJpCommandをバインディングしています。これにより、ボタンがタップされるとMessageプロパティには「こんにちは」がセットされて、Messageをバインディングしているオブジェクト(ここではLabel)に通知され、テキストが変更されます。
22〜25行目も、同様にしてEngCommandをバインディングしています。
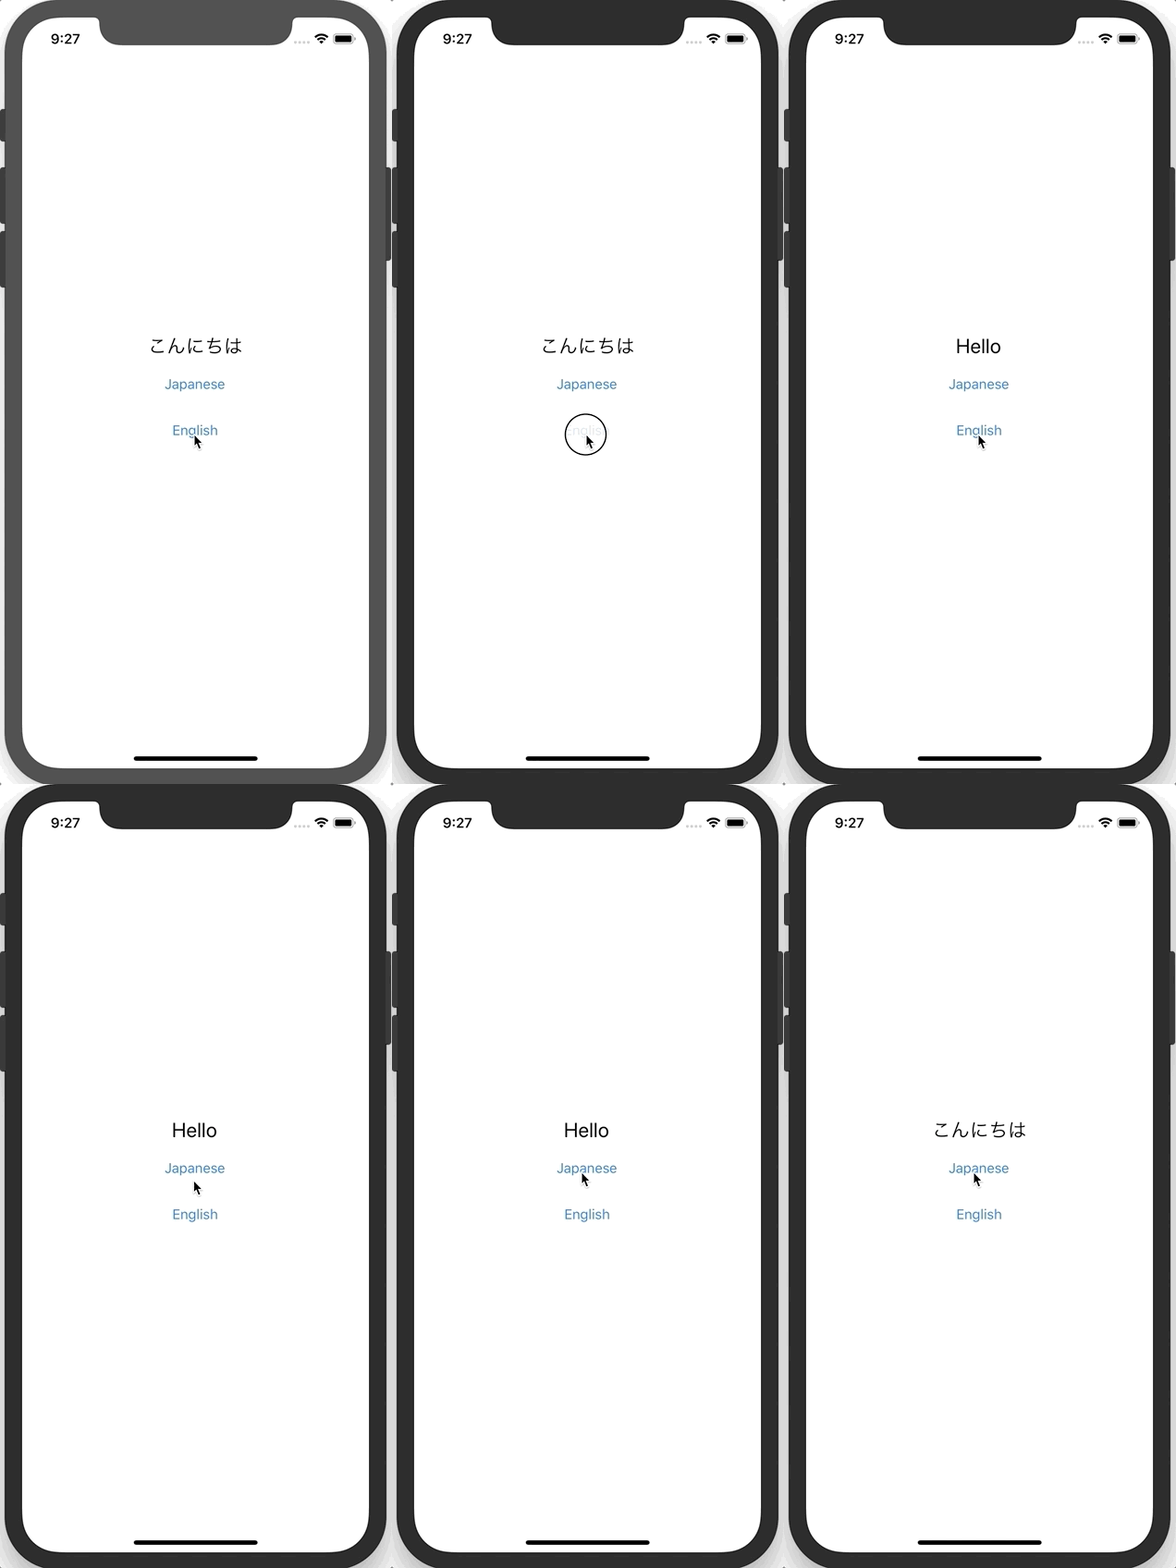
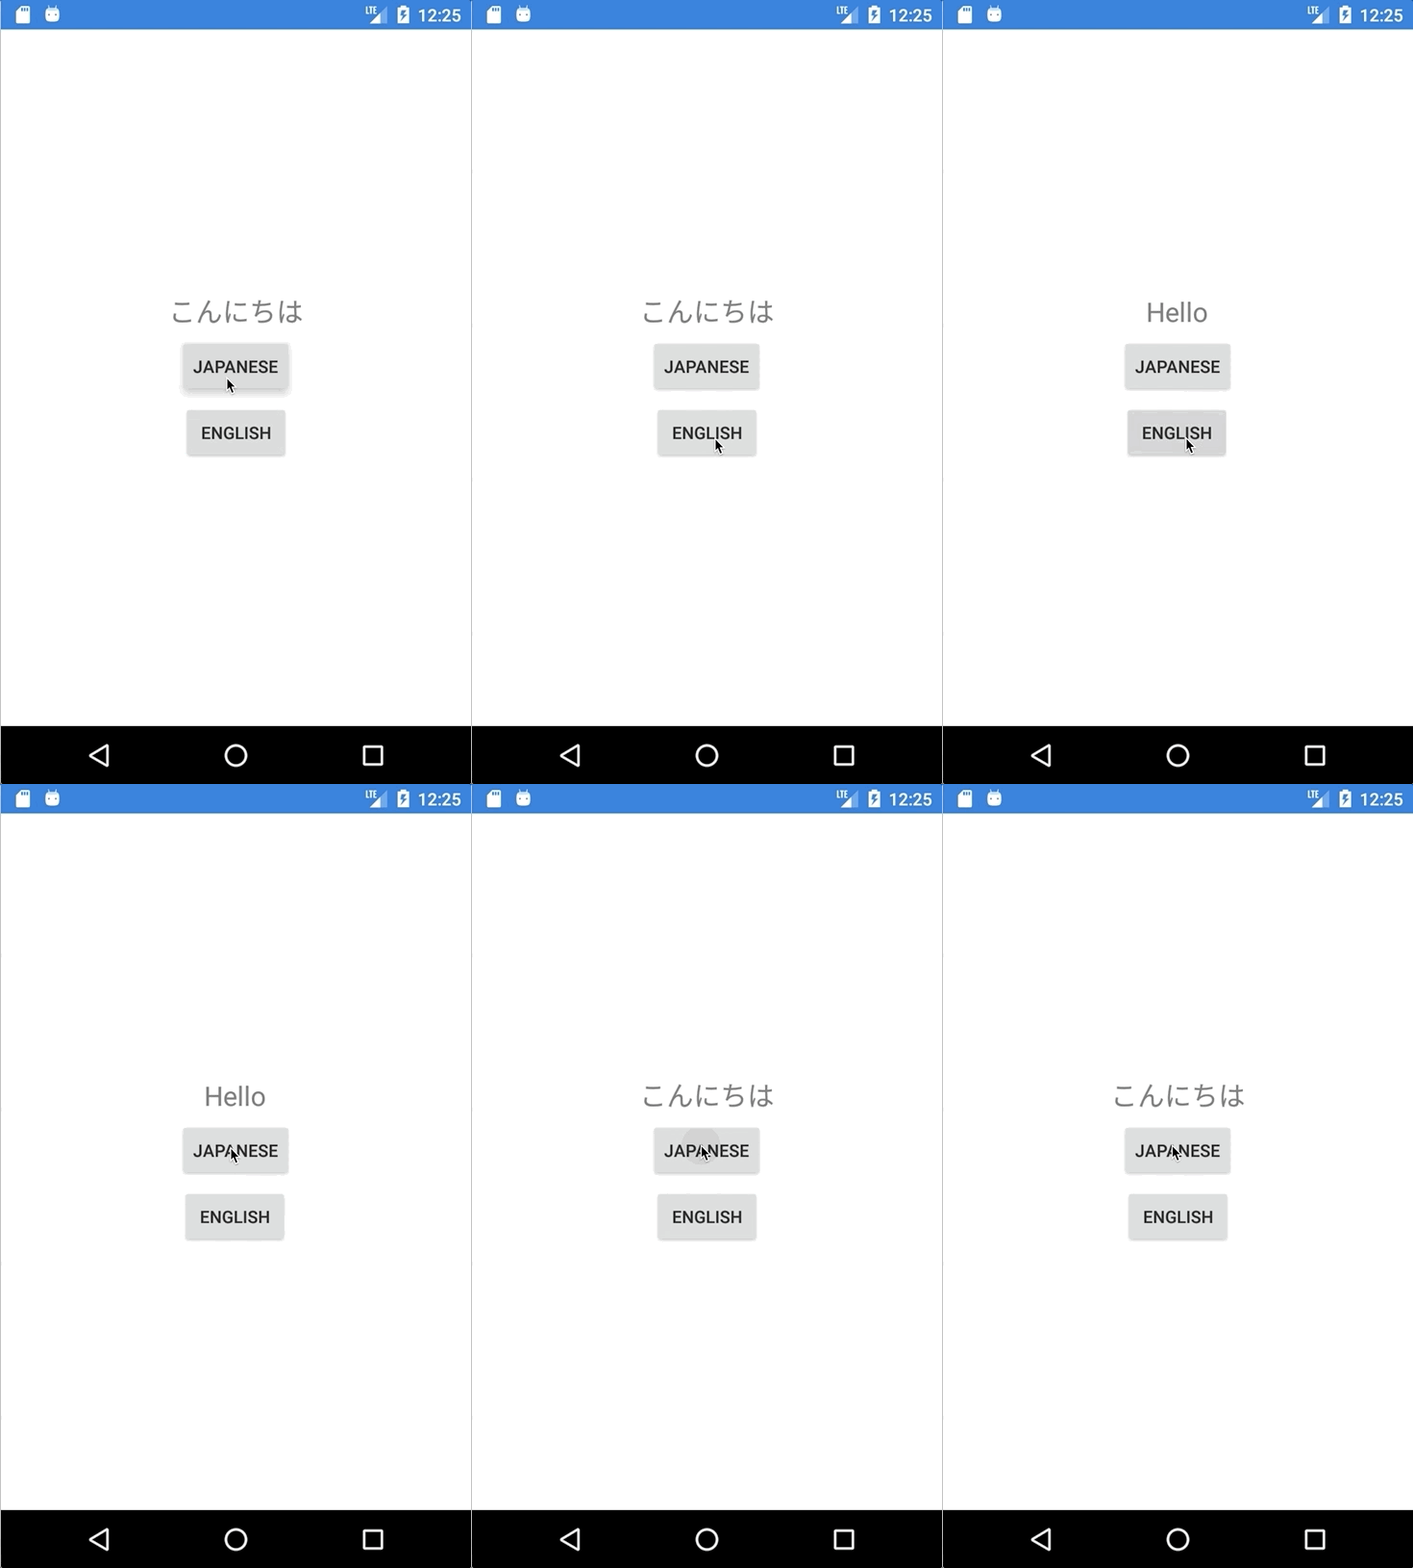
実行例を以下に示します。


画像とテキストを一緒に表示するには?
Button に画像とテキストを一緒に表示するには ImageプロパティとTextプロパティを一緒に使用します。
画像は、テキストの上、右、下、左のいずれかに表示することが可能です。
配置位置は、ContentLayoutプロパティにButtonContentLayout.ImagePosition 列挙体の値を指定します。
ButtonContentLayout.ImagePosition 列挙体| 値 | 説明 |
|---|---|
| Bottom | 下 |
| Left | 左 |
| Right | 右 |
| Top | 上 |
以下にコードビハインドでButtonに画像とテキストを表示する例を示します。
ButtonContentLayoutの第1引数に画像の配置位置を、第2引数にテキストと画像のスペースを指定します。
  namespace buttonSample09
{
    public partial class MainPage : ContentPage
    {
        public MainPage()
        {
            InitializeComponent();

            button1.Image = new FileImageSource { File = "basketball.png" };
            button1.Text = "Basketball";
            button1.ContentLayout = new Button.ButtonContentLayout(Button.ButtonContentLayout.ImagePosition.Left, 20);
        }
    }
}
Xamlで画像とテキストを一緒に表示するには?
次にXamlで画像とテキストを一緒に表示する例を示します。
  <Button Text="button text"
  Image="basketball.png"
  ContentLayout="Left, 20" />
実行例を以下に示します。

